Read Article in : English | Chinese
The basic idea behind good web design is to partition your web page into various sections and columns to give it a professional allure and to make it more user friendly. Creating columns in a page of a website is one of the techniques in helping you organizing the layout of your page. Here is an easy tutorial on how to put columns with Visual Composer:
1. Login to your WP Dashboard and go to Pages > Add New. Or you can go to your existing page. However, on this tutorial, we will use a new page.
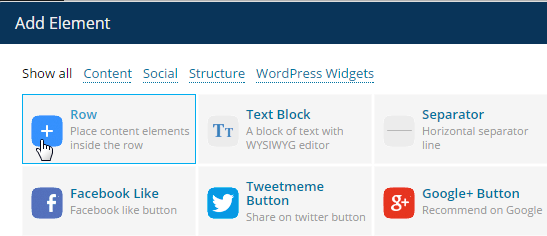
2. Write a title of your page and click on Add Element

3. Click Row to add a row, then select the columns you want. For example:1/3 + 1/3 + 1/3.

4. You should see now the 3 gray boxes with + buttons at the middle.

5. To insert content into it, click on the + button and choose Text Block.

6. You can now type your text and do some text alignment whenever needed. Then save it.
